|
|
|
Arduino compatible fingerprint scanner project board with TONS of extras!
This listing is for one of our most recent Kickstarter success stories! We are now selling two different fingerprint scanner project board sets. This listing is for the version#1 project board set. It comes with an AC-DC wall adapter, a servo motor, a fully assembled & tested version#1 board set, a DIY port expander kit (assembly video below), and 7x female-female wire connectors. This set also comes with the fingerprint scanner unit that connects to the main project board. The video above offers a full demonstration on how to use this set. This is a stand-alone set, and it DOES NOT require interface with a PC. When you receive this set, you should be ready to go right out of the box! There are 5x controllable outputs that correspond to fingerprint ID slots 1-5, a toggle servo function, and an on board relay. When you receive this set, you will also receive the user manual via download. I just need to send you the link via email.
Features:
1) Internal EEPROM memory saves fingerprint data after power off
2) Can Save Up To 20x unique fingerprints
3) Servo motor control
4) Easily enter into program mode or scanning mode by entering unique codes into the 10-digit keypad
5) LCD communications
6) Save your own secret 4-digit combination to keep other people from re-programming the board.
7) On-board relay control
8) Can directly power an Arduino UNO
9) Can be easily interfaced with the port expander board (Once assembled) to add 12x extra outputs to your project.
10) Outputs 1-5 on the main project, and all of the outputs on the port expander can be easily placed into either momentary or latching modes.
PLEASE SEE THE ABOVE VIDEO FOR A FULL DEMONSTRATION!
When you purchase this listing, you will receive the following:
1x Fully assembled and tested Version#1 project board
7x Female to female wire connectors
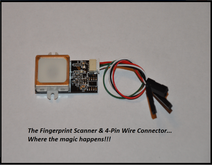
1x Fingerprint Scanner with connector cable
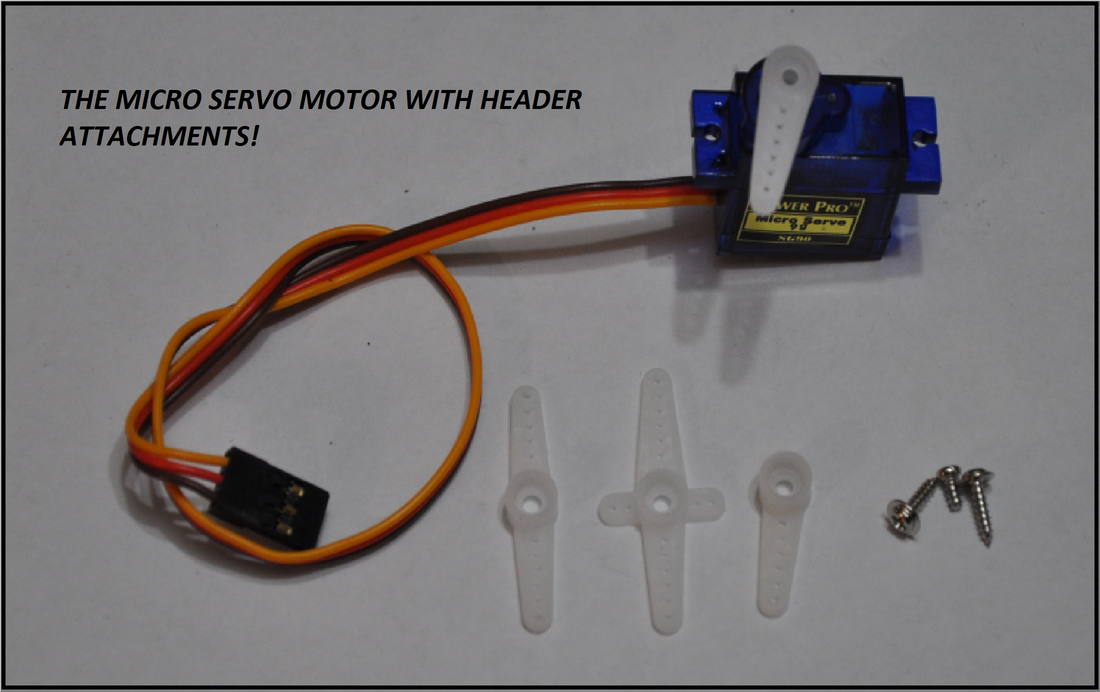
1x Servo motor with accessories
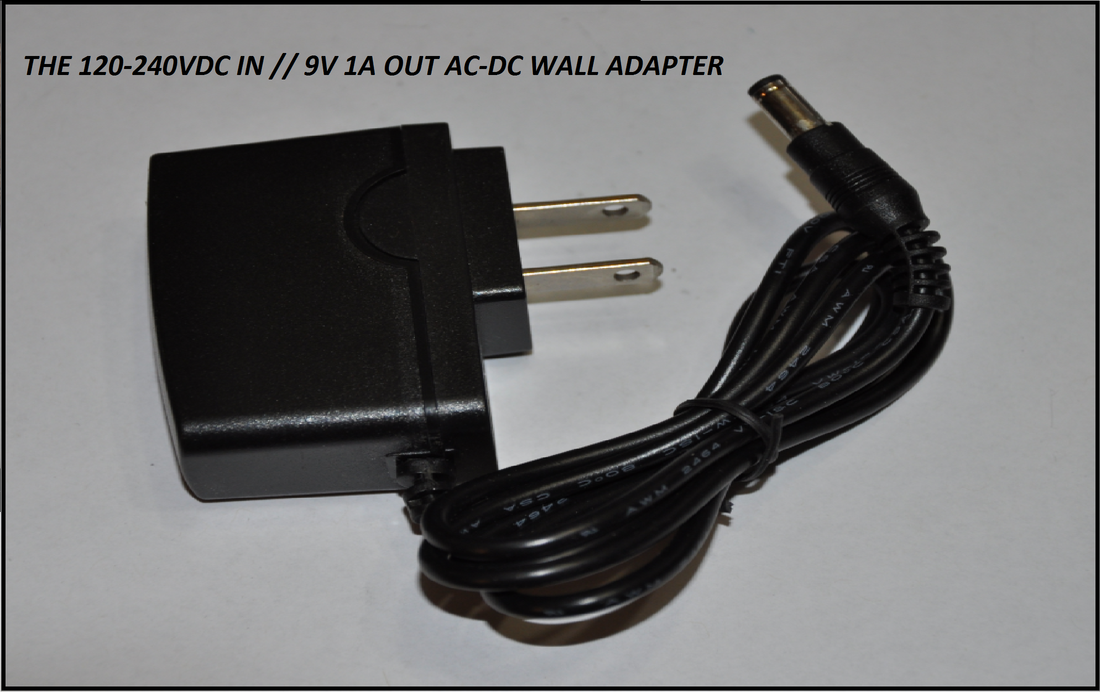
1x 120-240VAC 50/60Hz - 9v 1A AC-DC wall adapter
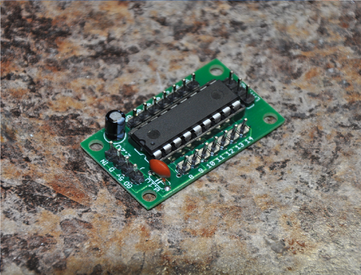
1x DIY port expander kit (Assembly video/manual below)
1x Link to all video and written manuals
How Do I Use It???
While this unit is extremely easy to use, we've created a written user manual, and several videos to showcase everything. The block diagrams in the written manual and the video above will make things much easier to understand, but I will go through basic functionality below:
Starting Up:
First of all, you need to connect your fingerprint scanner and servo motor. If you have questions, or are confused, then please watch the video manual. We go over all of the hook-ups! Please note that the LCD will not function on power up if you don’t have your fingerprint scanner properly connected. You know that you’ve made the proper connections when:
1) You power up and the servo motor glitches, then moves back to the 0 degree state.
2) The fingerprint scanner power led (GREEN) is on.
3) The LCD tells you “Select Mode Of Operation”
If any of these tests fail, turn power off immediately, and check your connections. Once you have done that, you are ready to go! When you receive your board, jumpers should have been placed over the LED_EN header, and they should have also been placed on the mode-selection header. Do not adjust these for now. If you wish to lock in programming/select between latching and momentary modes of operation, then please look here.
Program Mode:
Okie dokie! Ready to program in some fingerprints? Cool! However, we first have to program in a secret code. We also need to make sure that our program jumper is connected properly. You can make sure by reading more about the mode selection headers. In order to program in a new 4-digit code, power the unit up and press the following code: “7777”. Once you are done that, the green LED will turn on for a few seconds, then turn off. Once that green LED has turned off, you can now enter in a secret 4-digit combination. This unit would have been shipped with a default secret code of “1234”, just in case you want to skip this step. Once you’ve programmed, wait a few seconds, then disconnect power. Plug power back in, and enter in your secret code. The fingerprint scanner should then light up, and the LCD should tell you that you are now in program mode. Hurrah!
At this point, we’re going to program in a few new fingerprints. Remember to read this section before attempting to do this. Also, it is highly recommended that you watch the examples performed in the video manual. Anyhow, you can now select which ID slot that you want to save your fingerprint to. You do this by holding down any finger onto the surface of the scanner, and holding it there. The LCD will communicate that you will be saving to ID slots 1…2…3…4… all the way up to ID slot 20. Simply let go of the surface of the fingerprint scanner when you’ve chosen the relative ID slot that you want to save to.
Once you’ve chosen the ID slot that you wish to save to, the LCD will prompt you to press the finger that you want to save to the slot you’ve chosen on the sensor. Make sure that your finger is directly on the sensor! Once the scan has been done, the LCD will tell you to remove your finger. The LCD will then say “Second Scan”, then prompt you to place the same finger on the sensor for a second time. After it has scanned your finger for a second time, it will again prompt you to remove your finger. It will then say “Final scan”, and then ask you to place your finger on the scanner one last time. Once you do this, it will ask you to remove your finger. It will then tell you that you’ve successfully saved that finger into EEPROM memory to the ID slot that you’ve chosen. You can then press the surface of the scanner to save a new fingerprint to a new ID slot. Do this a couple of times with a couple of different fingers to get the hang of things. Just follow along with the instructions on the LCD, and you’ll be good to go! Please note that if you dink around while programming, the device may confuse fingers. Make sure that your finger is placed uniformly on the sensor all three times. You don’t want the device to get confused, do you? =D
Scanning Mode:
This is a little less complicated. When you power up, type in a combination of “9999”. The fingerprint scanner will light up, and the LCD will tell you that you are in scanning mode. From here, if you press your any finger at any time on the sensor and hold it there, the LCD will tell you if a recognized fingerprint has been detected. It will also tell you which ID slot the sensor has recognized. If an incorrect fingerprint has been detected, the LCD will tell you so, and nothing will happen. Remember that fingerprints associated with ID slots 1 through 7 have will active either one of the 5 outputs, the relay, or the servo motor. In order to make use of ID slots 8-20, you’ll need to hook up the port expander set.
The Port Expander DIY Kit:
This little guy was a stretch goal during the Kickstarter campaign. I've decided to add it into this listing. It is a very useful kit that allows for you to expand your project by 12x extra outputs! You can select between momentary and latching modes as well! The port expander connects easily to the Version#1 project board and takes advantage of fingerprint ID slots 8-20. Check out the port expander video manual and assembly video below!
Port Expander Assembly/Video Manuals:
Features:
1) Internal EEPROM memory saves fingerprint data after power off
2) Can Save Up To 20x unique fingerprints
3) Servo motor control
4) Easily enter into program mode or scanning mode by entering unique codes into the 10-digit keypad
5) LCD communications
6) Save your own secret 4-digit combination to keep other people from re-programming the board.
7) On-board relay control
8) Can directly power an Arduino UNO
9) Can be easily interfaced with the port expander board (Once assembled) to add 12x extra outputs to your project.
10) Outputs 1-5 on the main project, and all of the outputs on the port expander can be easily placed into either momentary or latching modes.
PLEASE SEE THE ABOVE VIDEO FOR A FULL DEMONSTRATION!
When you purchase this listing, you will receive the following:
1x Fully assembled and tested Version#1 project board
7x Female to female wire connectors
1x Fingerprint Scanner with connector cable
1x Servo motor with accessories
1x 120-240VAC 50/60Hz - 9v 1A AC-DC wall adapter
1x DIY port expander kit (Assembly video/manual below)
1x Link to all video and written manuals
How Do I Use It???
While this unit is extremely easy to use, we've created a written user manual, and several videos to showcase everything. The block diagrams in the written manual and the video above will make things much easier to understand, but I will go through basic functionality below:
Starting Up:
First of all, you need to connect your fingerprint scanner and servo motor. If you have questions, or are confused, then please watch the video manual. We go over all of the hook-ups! Please note that the LCD will not function on power up if you don’t have your fingerprint scanner properly connected. You know that you’ve made the proper connections when:
1) You power up and the servo motor glitches, then moves back to the 0 degree state.
2) The fingerprint scanner power led (GREEN) is on.
3) The LCD tells you “Select Mode Of Operation”
If any of these tests fail, turn power off immediately, and check your connections. Once you have done that, you are ready to go! When you receive your board, jumpers should have been placed over the LED_EN header, and they should have also been placed on the mode-selection header. Do not adjust these for now. If you wish to lock in programming/select between latching and momentary modes of operation, then please look here.
Program Mode:
Okie dokie! Ready to program in some fingerprints? Cool! However, we first have to program in a secret code. We also need to make sure that our program jumper is connected properly. You can make sure by reading more about the mode selection headers. In order to program in a new 4-digit code, power the unit up and press the following code: “7777”. Once you are done that, the green LED will turn on for a few seconds, then turn off. Once that green LED has turned off, you can now enter in a secret 4-digit combination. This unit would have been shipped with a default secret code of “1234”, just in case you want to skip this step. Once you’ve programmed, wait a few seconds, then disconnect power. Plug power back in, and enter in your secret code. The fingerprint scanner should then light up, and the LCD should tell you that you are now in program mode. Hurrah!
At this point, we’re going to program in a few new fingerprints. Remember to read this section before attempting to do this. Also, it is highly recommended that you watch the examples performed in the video manual. Anyhow, you can now select which ID slot that you want to save your fingerprint to. You do this by holding down any finger onto the surface of the scanner, and holding it there. The LCD will communicate that you will be saving to ID slots 1…2…3…4… all the way up to ID slot 20. Simply let go of the surface of the fingerprint scanner when you’ve chosen the relative ID slot that you want to save to.
Once you’ve chosen the ID slot that you wish to save to, the LCD will prompt you to press the finger that you want to save to the slot you’ve chosen on the sensor. Make sure that your finger is directly on the sensor! Once the scan has been done, the LCD will tell you to remove your finger. The LCD will then say “Second Scan”, then prompt you to place the same finger on the sensor for a second time. After it has scanned your finger for a second time, it will again prompt you to remove your finger. It will then say “Final scan”, and then ask you to place your finger on the scanner one last time. Once you do this, it will ask you to remove your finger. It will then tell you that you’ve successfully saved that finger into EEPROM memory to the ID slot that you’ve chosen. You can then press the surface of the scanner to save a new fingerprint to a new ID slot. Do this a couple of times with a couple of different fingers to get the hang of things. Just follow along with the instructions on the LCD, and you’ll be good to go! Please note that if you dink around while programming, the device may confuse fingers. Make sure that your finger is placed uniformly on the sensor all three times. You don’t want the device to get confused, do you? =D
Scanning Mode:
This is a little less complicated. When you power up, type in a combination of “9999”. The fingerprint scanner will light up, and the LCD will tell you that you are in scanning mode. From here, if you press your any finger at any time on the sensor and hold it there, the LCD will tell you if a recognized fingerprint has been detected. It will also tell you which ID slot the sensor has recognized. If an incorrect fingerprint has been detected, the LCD will tell you so, and nothing will happen. Remember that fingerprints associated with ID slots 1 through 7 have will active either one of the 5 outputs, the relay, or the servo motor. In order to make use of ID slots 8-20, you’ll need to hook up the port expander set.
The Port Expander DIY Kit:
This little guy was a stretch goal during the Kickstarter campaign. I've decided to add it into this listing. It is a very useful kit that allows for you to expand your project by 12x extra outputs! You can select between momentary and latching modes as well! The port expander connects easily to the Version#1 project board and takes advantage of fingerprint ID slots 8-20. Check out the port expander video manual and assembly video below!
Port Expander Assembly/Video Manuals:
|
|
|
|
|
|

|
|